|
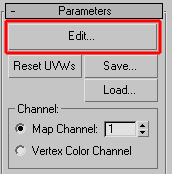
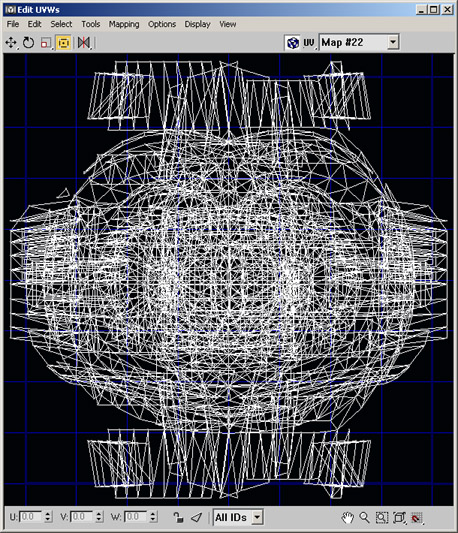
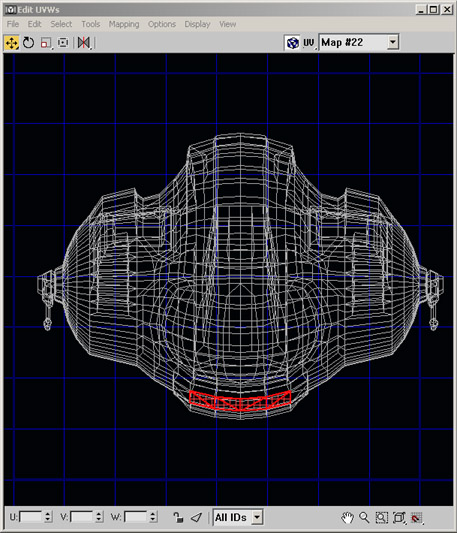
With that out of the way, let's begin. Click on the "Edit" button to bring up the Edit UVWs window. What you see will probably be a garbled mess; that's fine, that's just the default mapping coordinates for the mesh.
|
|
|
Let's simplify things a little. If you didn't do so earlier, in the modifier stack, click on "Unwrap UVW" to go to "Select Face" mode. Drag a selection box around your entire object to select all the faces. Now, click on the "Planar Map" button in the Unwrap UVW rollout. This should make your uvw mapping coordinates look a lot simpler (but still not ideal for texturing.)
|


|
|
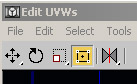
Now, if you'll switch back to the Edit UVWs window, we'll briefly go over the major features of the interface. In the top-left corner of the dialog you have the basic modifier tools (move, rotate, scale, freeform, and mirror.) Once again a handy little tip, with the move and scale tools, holding [SHIFT] before clicking will allow you to constrain the transformation along only one axis - try it, I'm sure you'll see where that can come in useful.
|
|
|
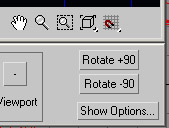
In the bottom-right corner of the interface you'll find all the panning and zooming options,and below those are two buttons - "Rotate +90" and "Rotate -90". Very straightforward, but very useful.
|
|
|
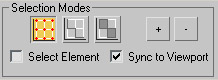
To the left of those is the "Selection Modes" box. This contains some of the most significant improvements over previous versions of the Unwrap UVW tool. By default, vertex sub-object mode is selected - but to the right are buttons to change to edge and face sub-object mode, respectively. In Vertex mode, you modify mapping coordinates by moving around the corners of polygons in UVW space. In edge mode, you move the edges between two vertices. In face mode, you got it, you move faces around (which effectively moves the surrounding vertices.)
|
|
|
Also note the + and - buttons, which allow you to expand and contract the current selection. Select Element is quite nice too, but we're not in a good position to demonstrate its uses yet. Don't worry, we'll get to it soon enough.
|
|
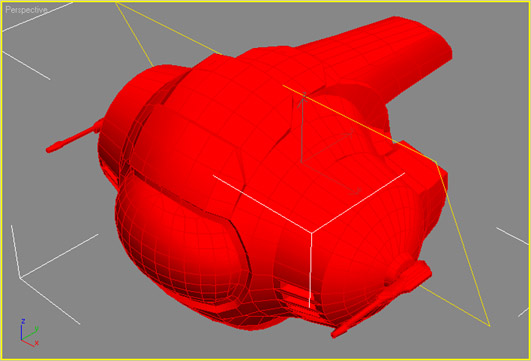
Another great feature of the Unwrap UVW tool is that the selection in the Edit UVW window is the same as the selection in the 3d viewports, so you'll never have problems finding the right polygon. (this is one situation where turning on "Shade Selected Faces" mode, F2, is very useful.)
|

|
)
)
)
)
)
)
)