|
If you think of your 3d mesh as a sculputure, then you can think of your mesh's texture map as your sculpture's paint job. It fills in all the colors and details that geometry can't. The only problem is, while you can paint directly onto a sculpture in the real world, a texture map has to be a flat image. Perhaps a better analogy, then, would be if you had to paint on a sheet of paper, cut it up into little pieces, and paste them onto your statue.
|
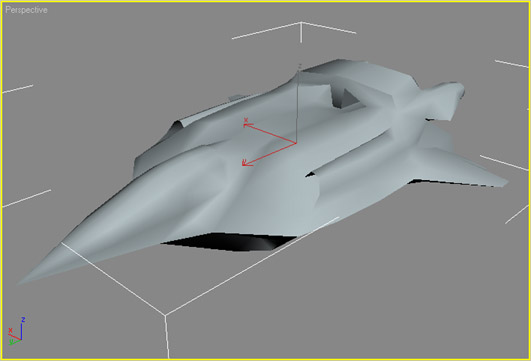
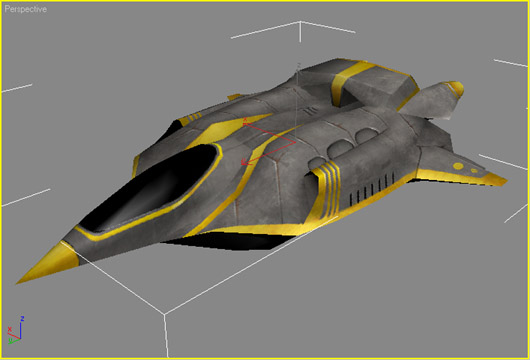
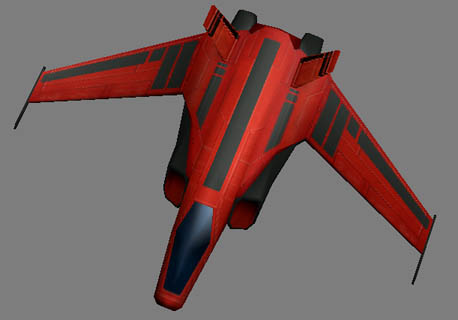
Credits go to Phil Bedard and Francis Bernier for work on the model and texture.
|
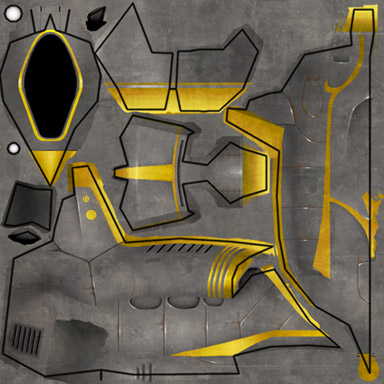
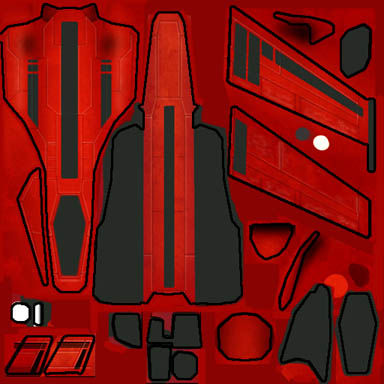
That's the essence of what a texture map is - a flat drawing that's cut up, rotated, and fitted onto your mesh.
A UVW map is the template that tells your 3D software exactly how to cut up the texture map and where to place it on your object.
|
|
|
If you've painted texture maps in the past, you probably know that bad UVW mapping coordinates can make the texturing process a major pain. I'll explain in this tutorial how to actually go about setting up UVW coordinates, but it helps to know ahead of time what can make a UVW map good or bad. There are a few main points to keep in mind, but if you stick to the analogy of gluing paper to a statue, you should do alright.
|
|
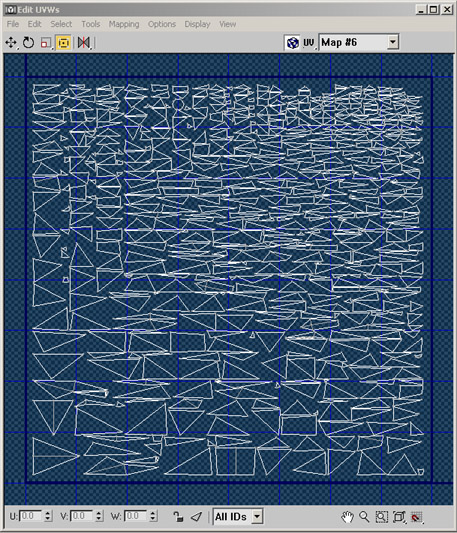
First, you usually want to break your UVW map into as few pieces as possible. This makes drawing the texture map a lot easier, because you have fewer seams to line up, and it's easier to keep track of which part of the map goes onto which part of the object.
|
|
|
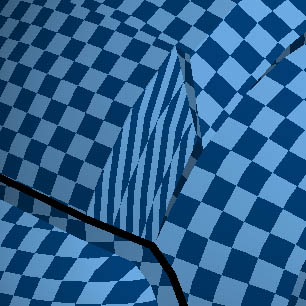
Second, you want to minimize stretching. Stretching is what happens when there's less texture detail on one polygon than on its neighbor. If you go back to the wallpaper analogy, stretching would mean the wallpaper just doesn't fit correctly on your statue - you would have to to crumple it up a bit to fit the shape correctly. Of course in your 3D program, it doesn't crumple, it acts a lot more like you had drawn your texture on a rubber balloon. If it doesn't fit perfectly, you have to stretch it to cover the whole form, and your paint job will look distorted.
|
|
Third, avoid overlapping mapping coordinates. You can't paint two different things on the same part of the texture map.
The exception is when you have two parts of your object that will be getting the same texture anyway - this is especially common when you have a symmetric object, or an object with repeating details. In the space ship image on the right, the wings are identical, so they make use of the same texture space.
|
|
|
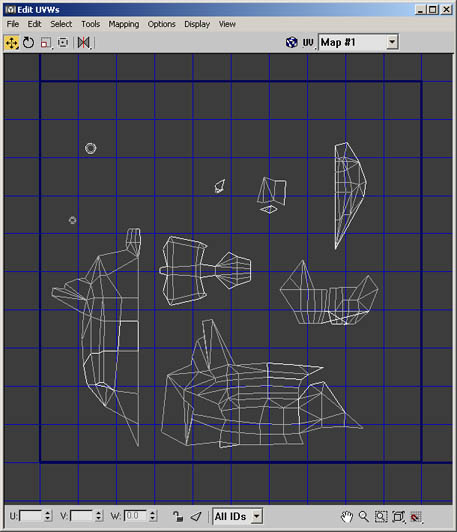
Next, you want to make sure your mapping coordinates use the texture space as efficiently as possible. If you're restricted, say, to a 256x256 image for your texture, any large gaps between mapping coordinate clumps are just wasted space - if you could scale all your coordinates up a little bigger, and rearrange them to fill in the space (without overlapping, of course) all your details would have a little bit higher resolution.
|

|
|
Finally, it helps if your mapping coordinates map a consistent amount of texture space to your model's surface. If one three-meter section of your model uses 10% of your texture, EVERY three-meter section should use about 10% of the texture. It looks strange if one part of an object has a lot more texture detail than another, and it's much easier to match up seams if the texture resolution is consistent. There are exceptions to this, of course - when mapping a character, for instance, the head and face often get more detail than the rest of the body, since they're much more important.
|
|
In practice, you have to balance these guidelines against each other to create an efficient UVW map. You also need to keep in mind that UVW mapping an object is an art form in its own right, though an incredibly dull one that you want to spend as little time on as possible. There's no "perfect" set of mapping coordinates for an object, and you can always do a better job. The trick is to decide what's good enough for your project, and get there as quickly as possible.
|